01 / GETTING STARTED
Vikas Editor: A Practical Guide to Your First AI Photo Edit
Learn how to use Vikas Editor: choose a reference photo, adapt a template, write a clear prompt, review the result and download your image.
Explore templates on the homepage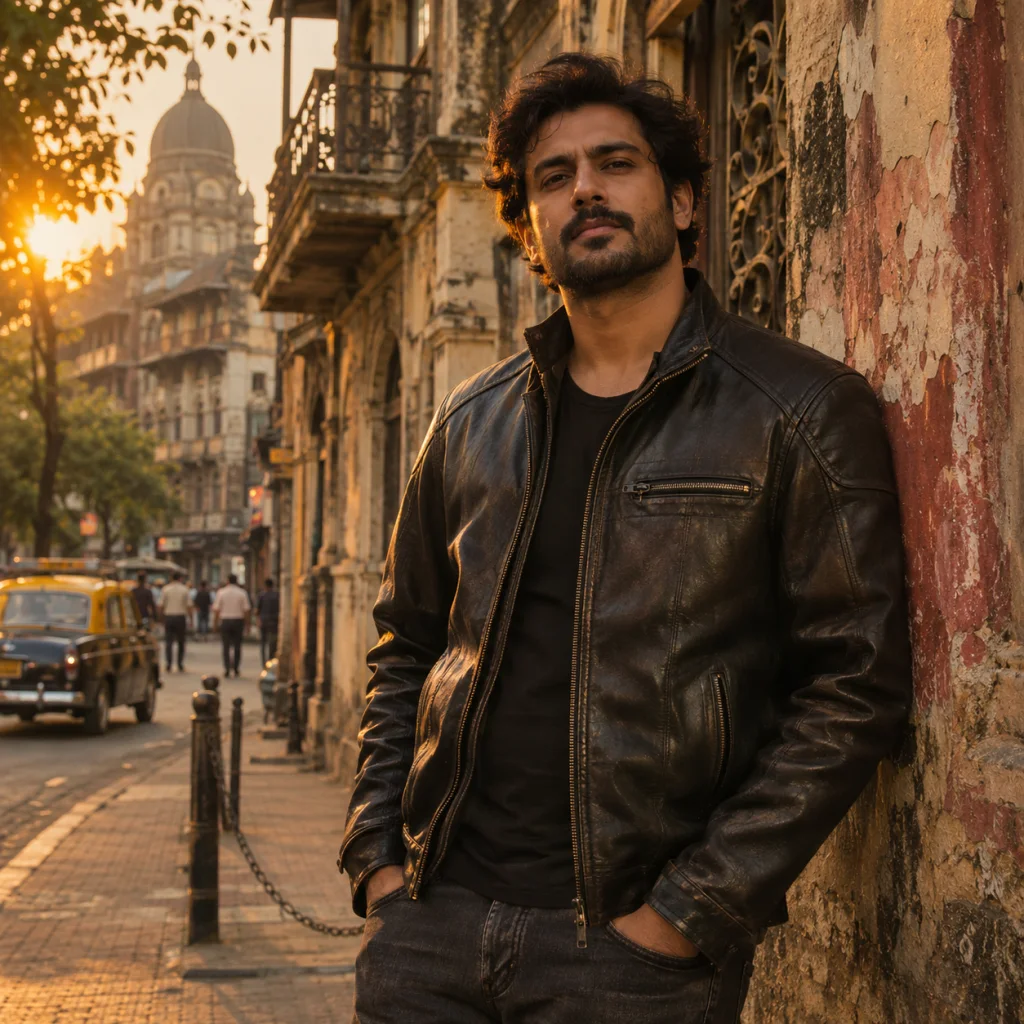
An effective Vikas Editor photo edit starts with a clear decision: what should change, and what should still look like you? A dramatic background is easy to ask for. Getting the lighting, pose and clothing to work together takes a more deliberate brief. This guide walks through that process using the image studio on the Vikas Editor homepage.
What is Vikas Editor?
Searches for this name can lead to editing resources, creator pages and independent AI tools. For example, Editing By Vikas describes its library as a collection of AI prompts, CapCut templates, VN codes and editing tutorials. A template library and an online image generator serve different parts of a creative workflow.
This website is Vikas Editor AI at vikas-editor.net, an independent browser-based image and video studio. It is not affiliated with Editing By Vikas or an individual creator. Here, you can browse original visual templates, read their prompts and generate an image from a description or reference photo. The Vikasheditor navigation guide explains how to choose the right destination when similar names appear in search.
Think of AI editing as a new interpretation of your instructions. A request to preserve a face helps communicate your intention, but it does not guarantee that every feature will remain identical. Plan to inspect the result before using it.
Prepare a photo the model can read
Choose one well-lit JPG, PNG or WebP image, no larger than 5 MB. A sharp original usually gives a clearer reference than a screenshot of a compressed social post. For portraits, keep the eyes visible and avoid a hand, phone or heavy shadow covering the face.
- Keep useful detail. A waist-up photograph gives clothing and posture context. A tiny face in a large landscape gives the model less information about the person.
- Choose a suitable angle. If the source shows a face straight on, begin with a similar viewpoint. Asking for a completely new profile adds uncertainty.
- Use an image you may edit. Get permission before uploading another person's photograph.
- Keep the original. If a later variation drifts away from the person, return to that file rather than repeatedly editing an imperfect result.
You can also start without a reference image in image mode. In that case, the person and scene are generated from your description; there is no uploaded identity to preserve.
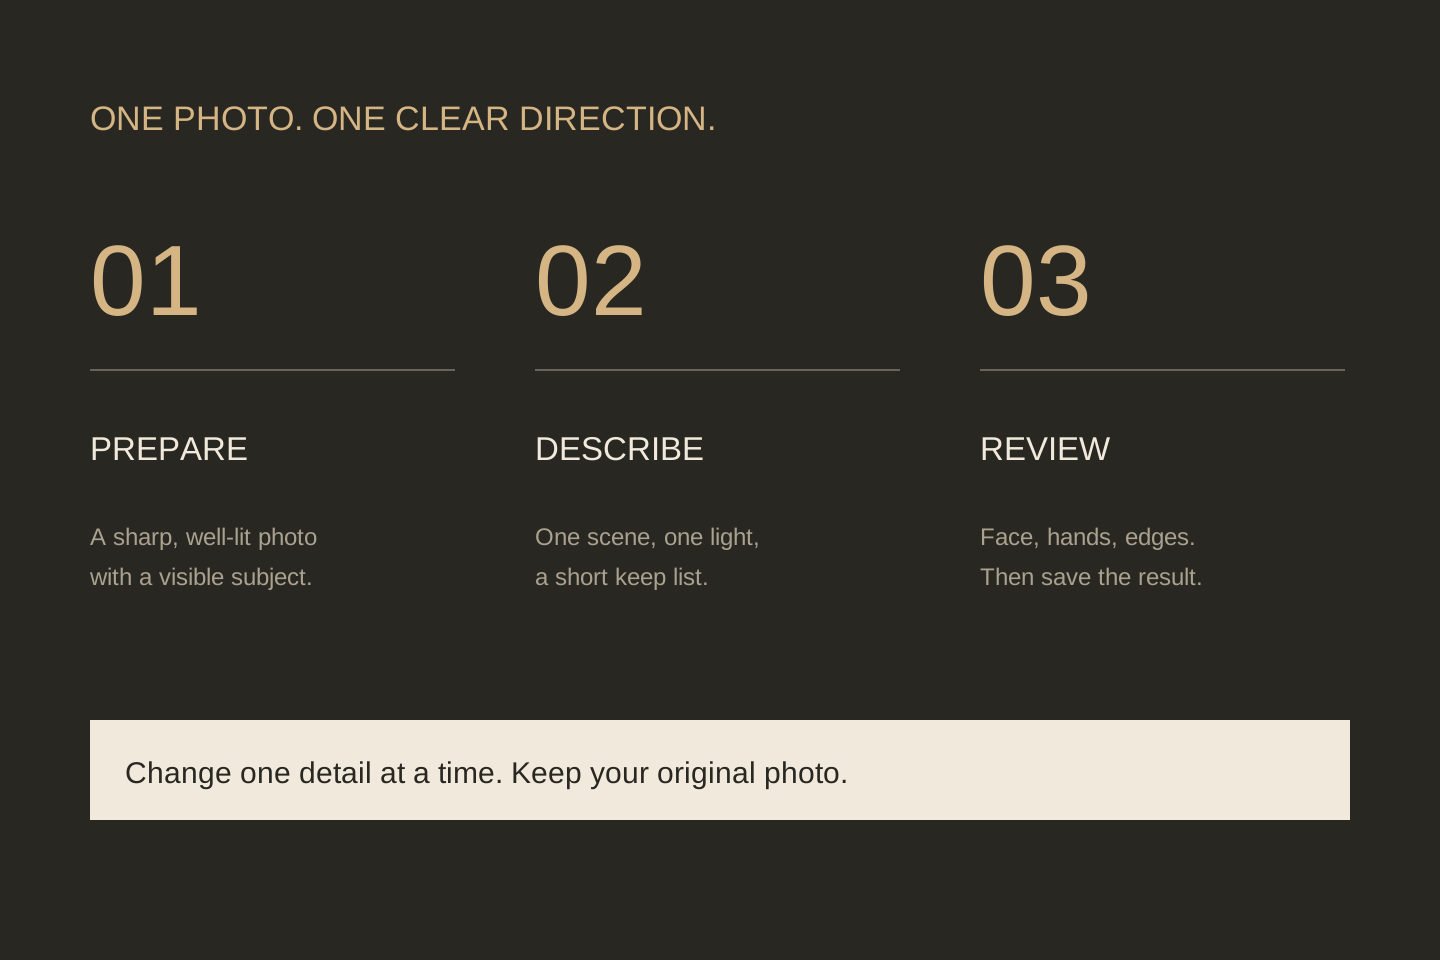
Make your first edit in five steps
- Start with a visual direction. Open the homepage template gallery. Read the full template page before choosing it; the example communicates a mood, not a promised result.
- Open the image studio. A template's use button opens the workspace with its prompt. Alternatively, use AI Image and write your own brief.
- Upload your photo and edit the prompt. Remove details that do not fit your subject. Keep one location, one lighting idea and one clothing direction. Tell the model which features should remain recognizable.
- Choose the frame and review the cost. Square, portrait and landscape compositions need different amounts of background. Check the free-use or credit message next to generation before you submit.
- Generate, inspect and download. Wait for a final result. Review it at a useful size, then save a local copy while the download is available.
A practical first brief might be: “Use my reference photo for the person. Keep the face, hairstyle and natural expression recognizable. Place the person beside an old city wall at late afternoon, wearing a charcoal jacket. Use warm light from the left, soft background detail and a waist-up composition. No lettering.”
For more directions, the Vikas Editor prompt workshop offers six original recipes with copy buttons. Change the scene sentence before adding extra adjectives.
Review the photograph, not just the effect
A pleasing thumbnail can hide problems. Look at the eyes, teeth, hairline and visible fingers. Check that earrings, glasses and clothing edges are complete. Examine whether the direction of the face lighting matches the new background. If text appeared unexpectedly, ask for a scene without signs or lettering.
| What you notice | What to change next |
|---|---|
| The face looks unfamiliar | Return to the original photo, keep the viewpoint similar and simplify the requested changes. |
| The scene feels artificial | Use one plausible light source and reduce competing effects, fog or exaggerated glow. |
| The crop cuts off the subject | Ask for the intended framing explicitly and leave more space around the person. |
| The outfit is too elaborate | Describe a simpler garment, fabric and colour; remove conflicting accessories. |
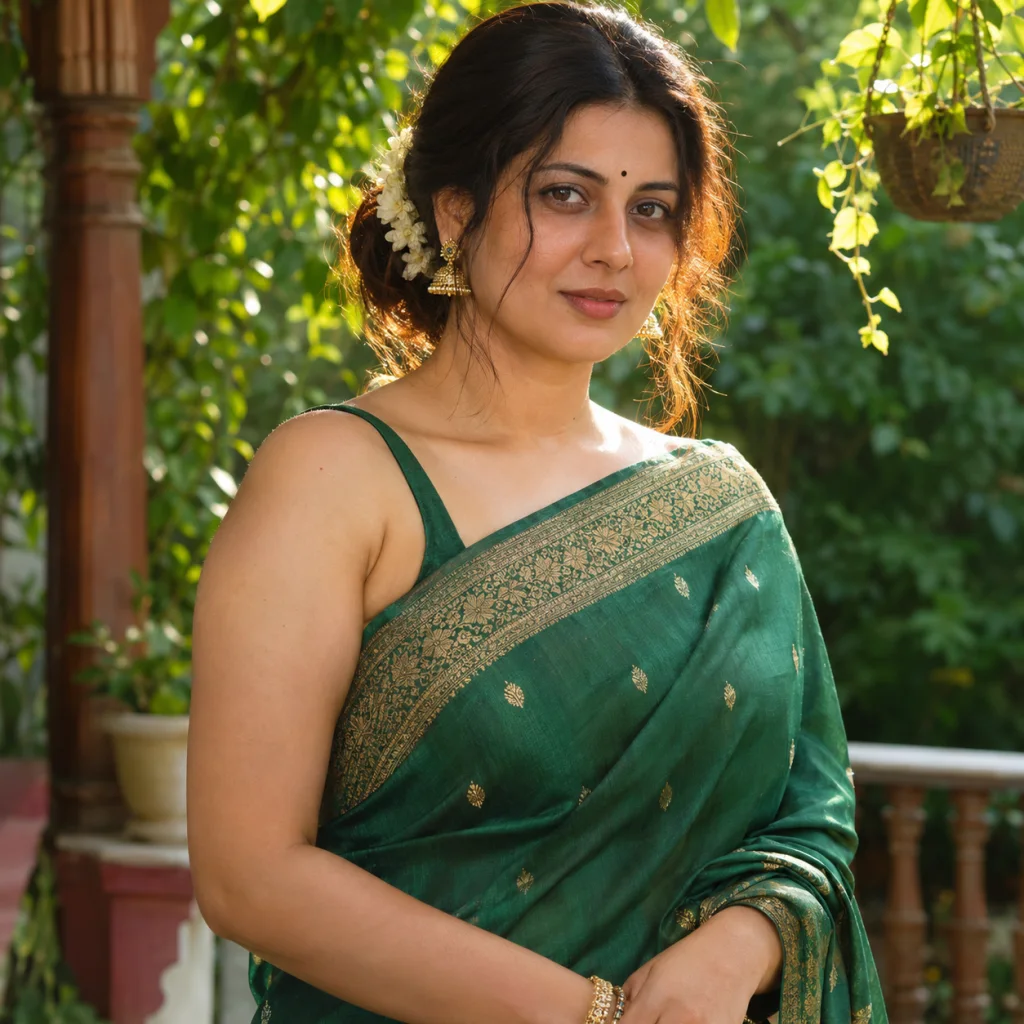
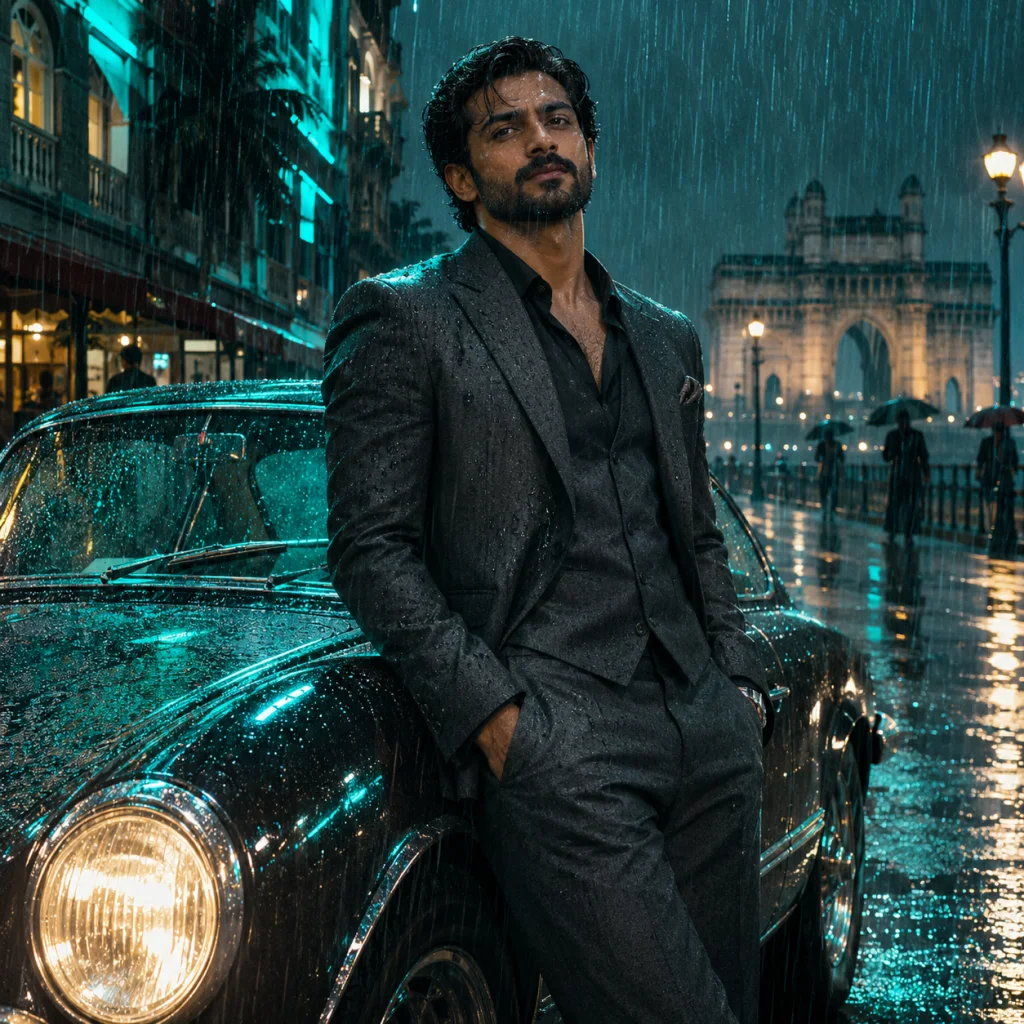
If you like this quieter fashion direction, read the Emerald Saree template. For an evening atmosphere, compare it with Midnight City. Choosing between these moods is more useful than combining every effect in one prompt.
Understand free use, credits and downloads
Browsing templates and copying prompts are free. Each account can make one free image. Further images require purchased credits; video generation requires purchased credits from the start. Current costs and packages are shown on the pricing page and in the studio.
One-time packs and monthly subscriptions have different terms. Review the package, billing frequency and displayed amount before approving a PayPal checkout. A monthly subscription is recurring; a one-time pack is a single purchase.
Generation links are temporary. Download a finished image promptly—our studio advises saving it within 24 hours. Keep your original, the final download and the prompt together if you want to revisit the idea. For handling of uploaded photos and account information, see our privacy policy.
Questions before your first edit
Do I need to install a Vikas Editor app?
This site's studio runs in your browser. Start at the homepage, open a template and continue into the workspace. You do not need a separate APK to use this website.
Can the tool promise an unchanged face?
No. A clear photo and a short preservation instruction improve the brief, but generated details can differ. Inspect the likeness and repeat from the original when needed.
Can I turn the image into a video?
The video studio accepts a source image and a motion prompt. Start with a still image you are happy with, then describe a small camera or subject movement. Video uses purchased credits.
Where do I get the site's logo?
The Vikas Editor logo guide includes the original SVG and explains how to use it in a review or link to this site. For help with your account or a failed task, email support@vikas-editor.net with the task or order reference, never your password.