04 / THE PROMPT WORKSHOP
Vikas Editor Prompt Guide: 6 Original Copy-and-Adapt Recipes
Copy six original Vikas Editor photo prompts, learn the five-part prompt structure and fix common problems with faces, lighting, outfits and composition.
Explore templates on the homepage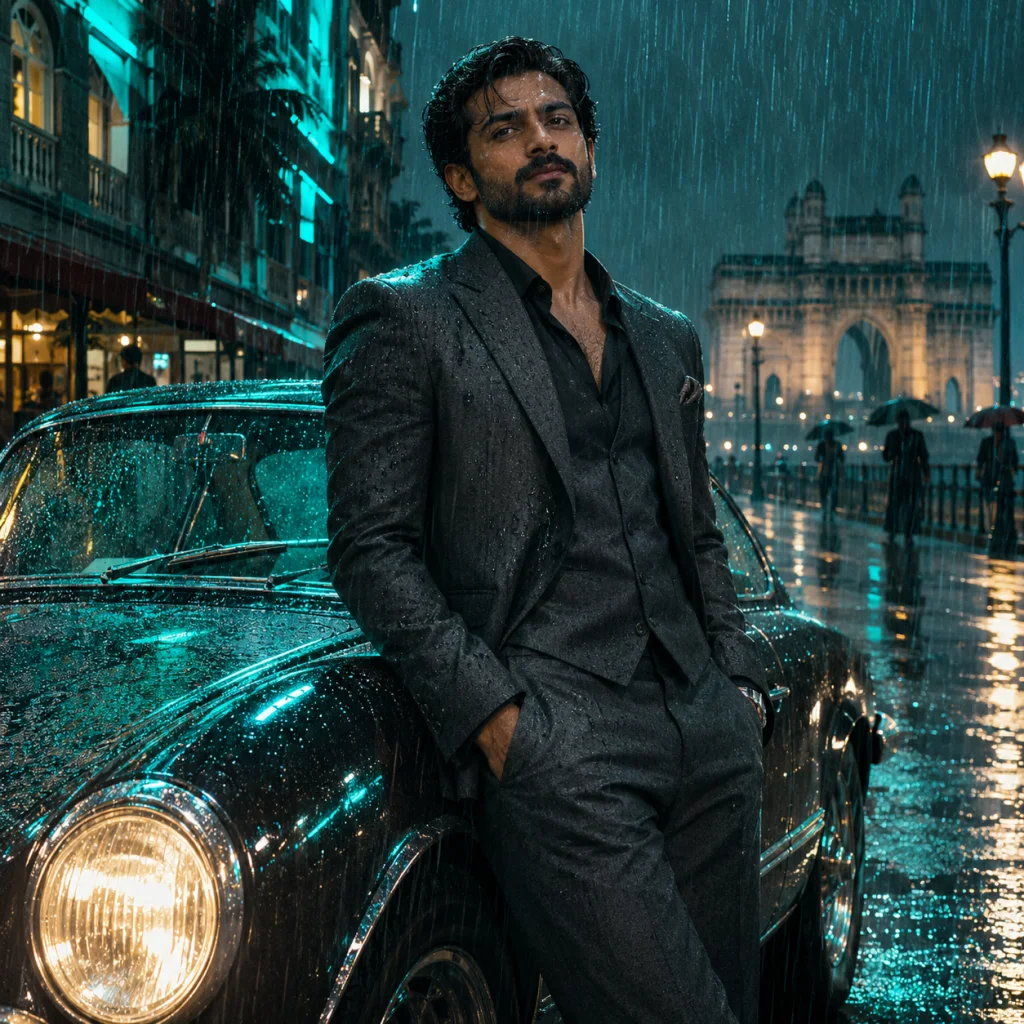
A useful Vikas Editor prompt is an editable brief, not a magic phrase. It tells the model who or what is in the picture, what should remain recognizable and which scene you want to create. The six recipes below are original examples for this guide. Copy one, adapt it to your reference photo and use it in the image studio.
If you are new to the workspace, begin with the Vikas Editor starting guide. You can also browse the homepage templates to choose a visual direction before writing.
What does a photo-editing prompt do?
A prompt describes the intended change. A reference photo supplies visual information that the words cannot fully capture. “Keep my face recognizable” tells the model what matters, but it does not lock every pixel or guarantee an identical face. A clear source photo and a manageable request are still important.
Distinguish three tasks. Text-to-image describes a new scene without a source. Image editing asks the model to use an uploaded picture as a reference. Image-to-video adds motion to a still image. The recipes here are for image editing. For video, use a separate motion instruction in the video studio.
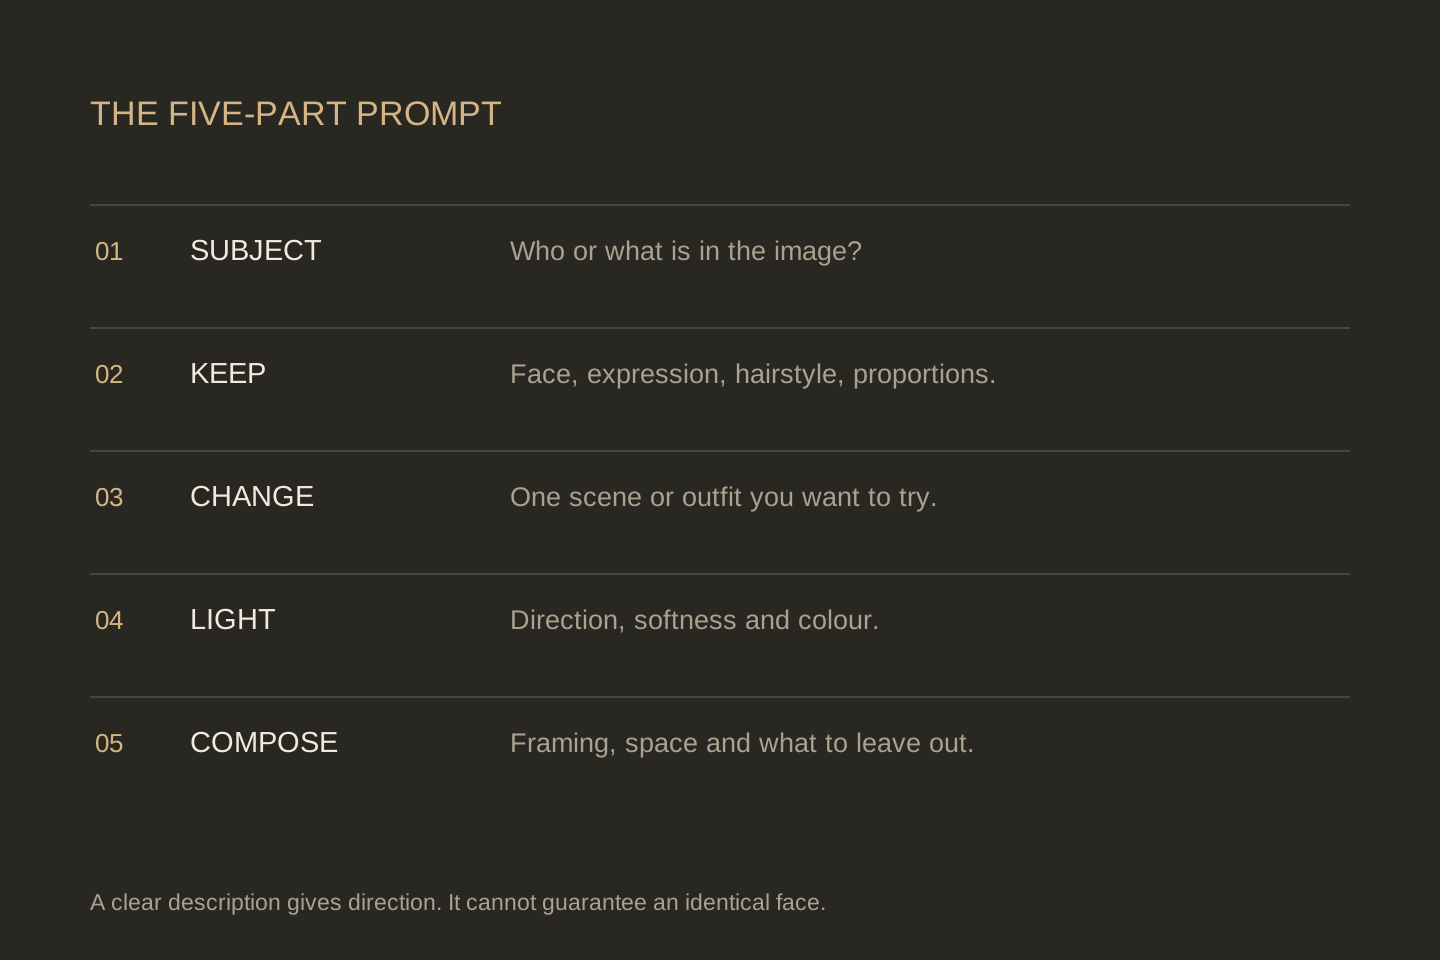
Build a prompt from five specific parts
- Subject: name the person or object in the reference image. For two people, explicitly say both should remain recognizable.
- Keep: list the few details that matter most, such as face, hairstyle, expression and proportions.
- Change: choose a scene, garment or background. Start with one main change instead of a list of unrelated effects.
- Light: describe direction, softness and colour. “Warm light from the left” is more concrete than “amazing lighting.”
- Compose: say head-and-shoulders, waist-up or full length; mention empty space or unwanted lettering when relevant.
You do not need to include every possible camera term. Contradictory instructions—such as a close-up face, full-body pose and distant subject in the same image—make the brief harder to interpret. Choose the framing before adding polish.
Six original Vikas Editor prompt recipes
These are starting briefs, not guarantees or measured before-and-after demonstrations. Each recipe is under the studio's 2,000-character prompt limit. Use a photo you have permission to edit and adapt the clothing and setting to the subject.
1. Golden-hour city portrait
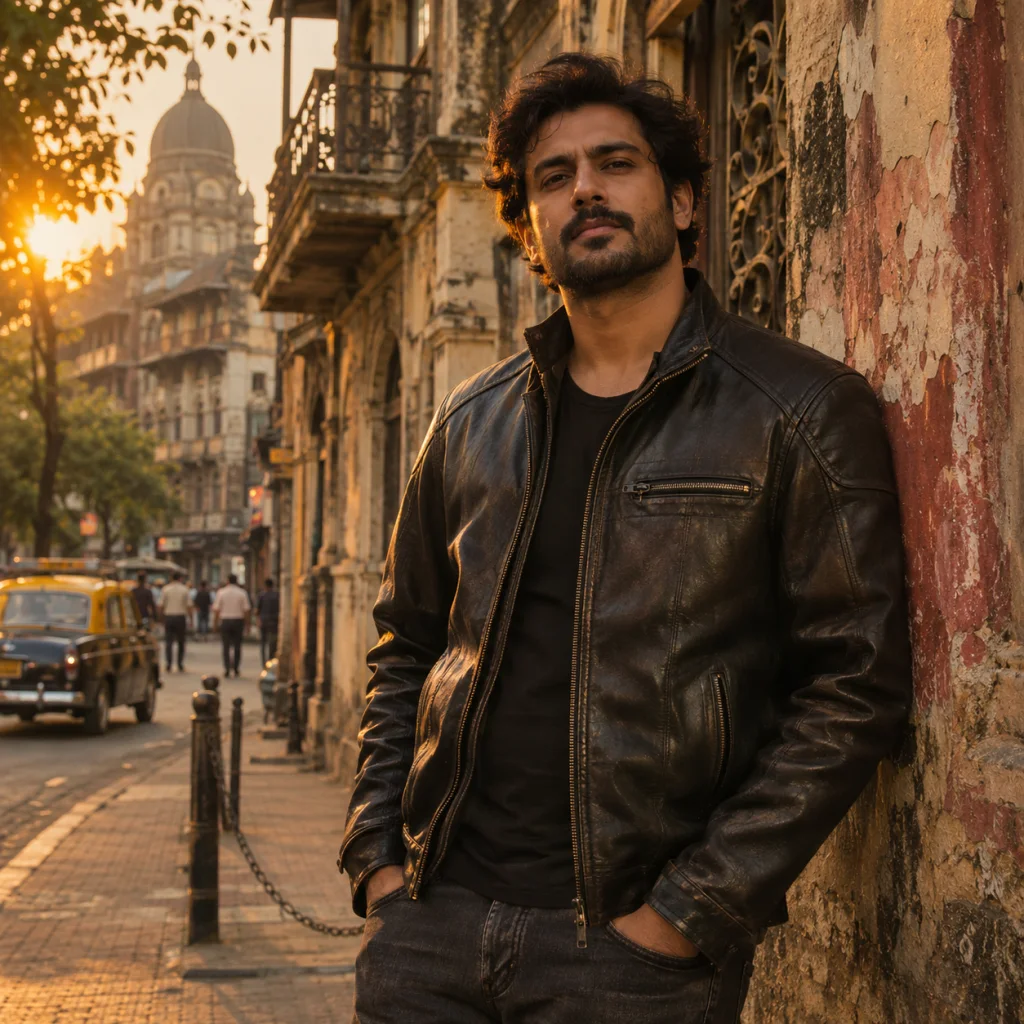
A useful first edit when you want one recognizable person and a warm outdoor scene. Start with a clearly visible face and avoid changing the camera angle dramatically.
Use the uploaded photo as the reference for the adult person. Keep their face, hairstyle, skin tone and natural expression recognizable. Place them beside a weathered city wall in late-afternoon light, wearing a simple charcoal jacket. Let warm sunlight enter from the left and keep the background softly detailed. Use a relaxed waist-up composition, believable skin texture and restrained film grain. No lettering or added logos.
Compare the mood with the Golden Hour Hero template. To make the setting more personal, replace the weathered wall with a location you know and keep the lighting sentence consistent.
2. Restrained midnight-city portrait
Keep the face readable against a night background. The awning, one coloured light and a warm background reflection establish the scene without requiring heavy fog or an exaggerated glow.
Use the adult person in the reference photo as the subject. Preserve recognizable facial features, hairstyle and expression. Create a waist-up portrait beneath an awning on a rainy city street at night. Use soft cyan light from one side and a small warm reflection behind the subject. Keep the face clearly visible, the clothes simple and the wet pavement believable. Avoid readable signs, heavy glow and extra people.
If the result is too dark, first strengthen the instruction about light on the face. Adding more neon colours can make that problem worse.
3. Emerald saree editorial
This recipe specifies a garment, a restrained accessory choice and a garden setting. Change the fabric or colour if it does not fit your intention; keep the instruction about natural folds.
Create an editorial portrait of the adult woman in the reference photo, keeping her face, skin tone, hairstyle and expression recognizable. Dress her in an emerald silk saree with a modest gold border and simple earrings. Place her beside a shaded garden veranda, with warm side light touching the fabric. Use a three-quarter portrait with natural posture, realistic folds and uncluttered foliage. No lettering, extra jewellery or exaggerated skin smoothing.
For more visual context, open the Emerald Saree template. A single coherent wardrobe direction is easier to evaluate than several competing styles.
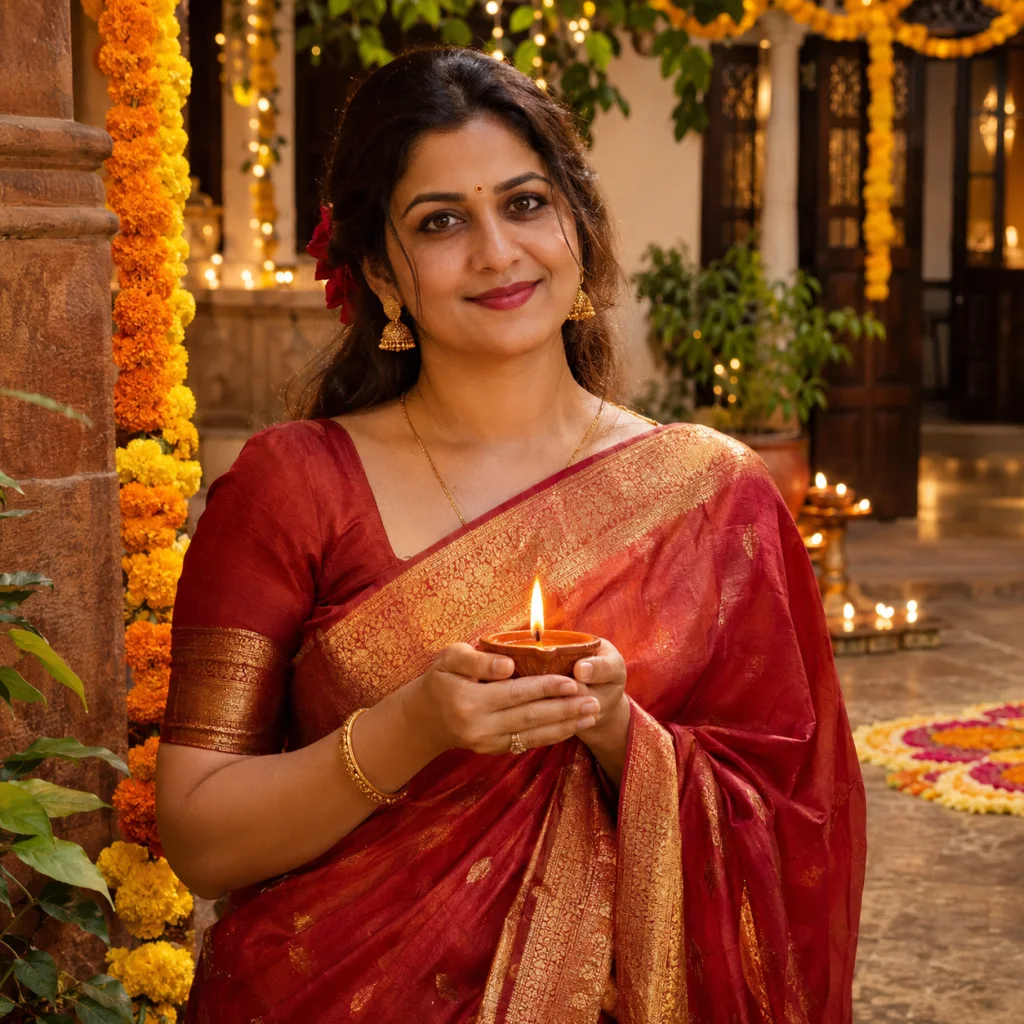
4. Quiet festive portrait
A few lamps and flowers can suggest a celebration without filling every part of the image. Keep enough light on the person, rather than making the background decoration the brightest subject.
Use the reference photo for the adult person and preserve their recognizable facial features and natural expression. Create a quiet festive portrait in a courtyard at dusk, with a few small clay lamps and marigold flowers in the background. Use a simple deep-red outfit and soft warm light, while keeping skin tones believable. Show the upper body with relaxed hands and space around the head. No fireworks, text or added people.
5. Simple studio headshot
For a clear portrait, simplify the scene rather than adding more production effects. The background and clothing should help the face remain the main point of attention.
Using the adult person in the uploaded photograph, create a clean professional head-and-shoulders portrait. Keep their recognizable face, hairstyle, skin tone and natural expression. Use a plain warm-grey background, a simple dark shirt and soft window-like light from the left. Keep the eyes clear, the shoulders natural and the skin textured. Leave comfortable space above the head. Do not add jewellery, props, text or a dramatic beauty filter.
Check the final likeness before using a generated headshot professionally. Keep an unedited photograph for any context that requires a factual representation.
6. Sunset portrait of two adults
Use a source photo that shows both people clearly. This studio accepts one reference image per generation, so begin with a picture containing both people rather than expecting two separate uploads to be combined.
Use the two adults shown together in the reference photo. Keep both people recognizable, including their facial features, hairstyles and skin tones. Place them standing naturally beside each other on a quiet beach at sunset, wearing simple cream and muted-blue clothing. Use soft warm backlight and gentle fill on their faces. Compose a relaxed waist-up portrait with believable proportions. Do not merge faces, add people, change their ages or add text.
Inspect each face independently. If one person changed more than the other, return to the source photo and simplify the pose. The Sunset Together template offers a related visual direction.
Copy, adapt and generate
Copy your chosen recipe, open the image studio, upload a JPG, PNG or WebP photo up to 5 MB, and paste the text into the prompt field. Replace details that do not apply. Choose an aspect ratio suitable for the intended placement and check the displayed cost before generating.
Copying a recipe is free. This site includes one free image per account; further images and all videos use purchased credits. Current packages are on the pricing page. The examples do not promise a fixed completion time or an identical result across tools.
Revise the cause of a problem
| Problem | Try this revision | Avoid |
|---|---|---|
| The face drifted | Restart from the original and request a similar viewpoint with fewer scene changes. | Repeatedly using an already altered face as the new source. |
| Hands look distorted | Choose a source with clear hands or simplify the pose and crop. | Adding many props, gestures and overlapping fingers. |
| Light looks inconsistent | Specify one main light direction and a restrained background. | Mixing noon sunlight, midnight darkness and multiple dominant lights. |
| Random words appeared | Remove signs and ask for an uncluttered background without lettering. | Assuming a no-text request guarantees perfect removal. |
| The composition feels crowded | Reduce background objects and name a clear framing. | Adding more stylistic adjectives without changing the layout. |
Change one major variable per attempt and keep a note of the prompt. That makes the next decision clearer: you can tell whether a new light direction helped, instead of changing the location, outfit and crop all at once.
Prompt questions
Can I use these prompts in another image tool?
They are plain-language briefs you can adapt to a compatible image-editing tool. Controls, limits and results differ. Check that the tool accepts a reference image if you want the photo used.
Should I write “8K” or “100% same face”?
Those phrases do not set the actual output resolution or guarantee identity. Choose the available quality controls and describe the concrete details you want preserved.
How do I return to templates?
Open the Vikas Editor homepage. To identify this site's branding, read the logo guide; for similarly named resources, read Vikasheditor. Prompt or account questions can go to support@vikas-editor.net.